How To Take A Video On Your Macbook
Today, we're going to delve into the world of Mac screenshots. If you're a Mac user, you know how vital it is to capture your screen, whether it's to save important information, share something cool with your friends, or troubleshoot a technical issue. Fortunately, taking screenshots on a Mac is a breeze once you know how to do it. So, let's explore the various methods to capture your Macbook screen.
How to Take Screenshots on Mac
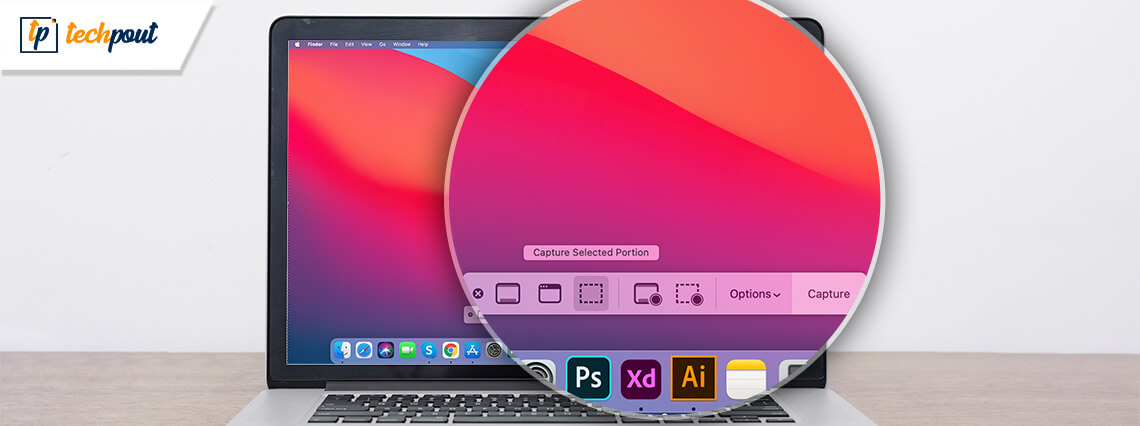
One of the easiest ways to take a screenshot on a Mac is by using keyboard shortcuts. To capture the entire screen, simply press Command + Shift + 3. Your Mac will automatically save the screenshot as a file on your desktop. If you only want to capture a specific area of the screen, press Command + Shift + 4. Your cursor will turn into a crosshair, allowing you to select the area you want to capture.
If you prefer to take screenshots of specific windows or menus, press Command + Shift + 4, then press the Spacebar. Your cursor will transform into a camera icon, which you can use to select the window or menu you want to capture.
Another way to take screenshots on a Mac is by using the Grab app. You can find this app in the Utilities folder of your Applications. Grab offers more advanced features for capturing screenshots, such as timed captures and window selection. Simply open Grab, select the type of screenshot you want to take, and save the file to your desired location.
Utilizing Screenshots for Productivity
Screenshots can be incredibly useful for improving your productivity. For instance, you can use screenshots to save online receipts, capture important emails, or create visual tutorials for your colleagues. Additionally, screenshots are perfect for documenting software bugs or issues that you encounter, making it easier for developers to troubleshoot and resolve the problem.
The Importance of Taking Screenshots
Whether you're a student, professional, or casual Mac user, knowing how to take screenshots can significantly enhance your computing experience. By mastering this simple skill, you'll be able to easily share information, collaborate with others, and troubleshoot technical issues. So, take the time to familiarize yourself with the various screenshot methods on your Mac and start capturing your screen today!
Read More: Screenshot Macbook - Homecare24
When it comes to taking screenshots on your Macbook, the process is simple and efficient. Whether you're a newbie or a seasoned Mac user, capturing your screen is a valuable skill to have. Let's explore how you can take screenshots on your Macbook to elevate your productivity and communication.
The Process of Taking a Screenshot
To take a screenshot on your Macbook, press Command + Shift + 4. Your cursor will transform into a crosshair, allowing you to select the area you want to capture. After selecting the desired area, release the mouse or trackpad button to take the screenshot. The image will be saved as a file on your desktop, ready for you to use or share as needed.
If you prefer to capture the entire screen, press Command + Shift + 3. This will take a screenshot of your entire screen and save it to your desktop. It's a quick and easy way to capture everything on your display without having to select a specific area.
Customizing Your Screenshots
One of the benefits of taking screenshots on a Macbook is the ability to customize them to suit your needs. For instance, you can use the Grab app to take timed screenshots, allowing you to capture dropdown menus or other dynamic content. Additionally, you can use keyboard shortcuts to capture specific windows, menus, or even the Touch Bar on newer Macbook models.
After taking a screenshot, you can use the Preview app to edit and annotate the image. This is especially useful if you need to highlight specific information, add text, or crop the image to remove unnecessary elements. The Preview app offers a range of editing tools that make it easy to enhance your screenshots before sharing them.
Enhancing Your Communication
By incorporating screenshots into your communication, you can convey information more clearly and effectively. Whether you're explaining a complex process, providing visual feedback, or sharing a design concept, screenshots can enhance your message and make it easier for others to understand.
Read More: How To Take Screenshot On Macbook Pro 2016 - TOWOH

When it comes to capturing screenshots on a Macbook Pro 2016, the process is similar to other Mac models but with a few additional features and considerations. Let's explore how you can make the most of your Macbook Pro 2016 when taking screenshots.
Using Keyboard Shortcuts
Like other Mac models, you can use keyboard shortcuts to take screenshots on your Macbook Pro 2016. Press Command + Shift + 3 to capture the entire screen or Command + Shift + 4 to select a specific area. If you want to capture a specific window or menu, press Command + Shift + 4, then press the Spacebar to switch to window selection mode.
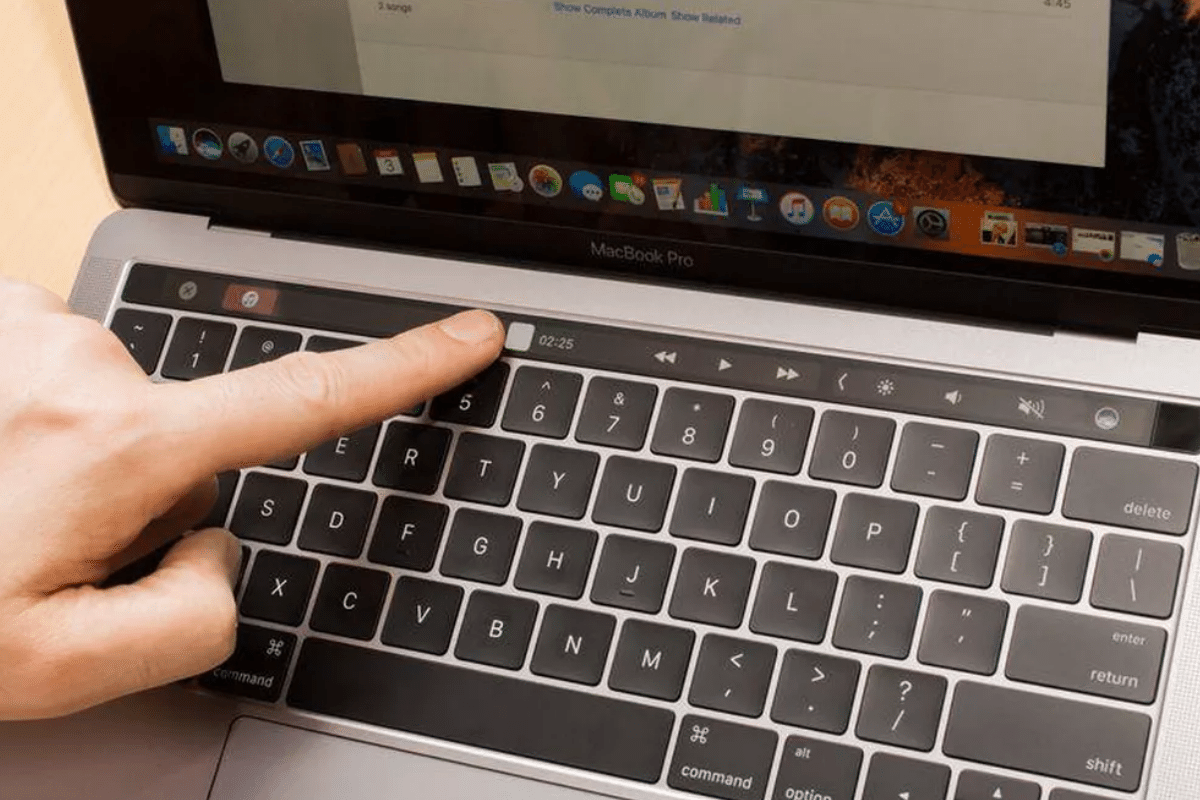
Additionally, the Touch Bar on the Macbook Pro 2016 offers a convenient way to take screenshots. Simply press Shift + Command + 6 to capture the Touch Bar and save it as a file on your desktop. This feature is especially useful for showcasing the dynamic capabilities of the Touch Bar to others.
Maximizing Productivity with Screenshots
Screenshots can play a crucial role in maximizing your productivity on a Macbook Pro 2016. Whether you're working on a design project, troubleshooting a technical issue, or collaborating with colleagues, screenshots can streamline your workflow and enhance your communication. By mastering the art of taking screenshots, you can work more efficiently and effectively on your Macbook Pro 2016.
Read More: 8 monitors to take your MacBook Pro to the next level | Macbook pro

When it comes to enhancing the performance and functionality of your Macbook Pro, adding external monitors can take your productivity to the next level. With the ability to extend your screen real estate, improve multitasking capabilities, and enhance visual clarity, external monitors are a valuable addition to any Macbook Pro setup.
Choosing the Right Monitor
When selecting an external monitor for your Macbook Pro, consider factors such as screen size, resolution, connectivity options, and color accuracy. Look for a monitor that complements the design and performance of your Macbook Pro, ensuring seamless integration and optimal functionality.
Whether you're a graphic designer, video editor, programmer, or casual user, the right external monitor can enhance your viewing experience and productivity. By expanding your screen space, you can work more efficiently, multitask with ease, and enjoy a more immersive computing experience on your Macbook Pro.
Optimizing Your Workflow
With the addition of external monitors, you can customize your workspace to suit your workflow and preferences. Whether you prefer a dual monitor setup for enhanced multitasking or a larger ultra-wide monitor for immersive gaming and content creation, external monitors offer flexibility and versatility to enhance your Macbook Pro experience.
Read More: Take $100 off a new M1 MacBook Air or M1 MacBook Pro right now | Macworld
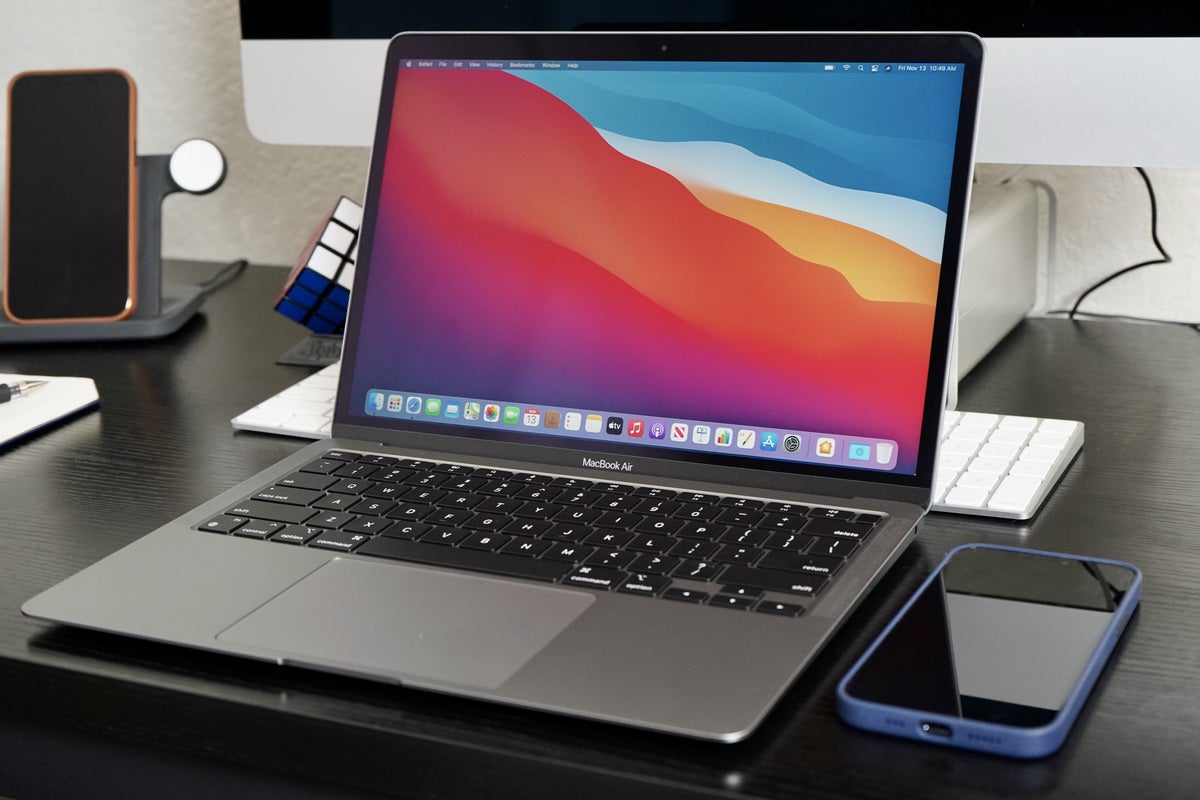
If you've been eyeing a new M1 MacBook Air or M1 MacBook Pro, now is the perfect time to make your purchase. With a $100 discount on select models, you can enjoy the latest features and performance improvements that the M1 chip has to offer. Whether you're a student, professional, or creative professional, the new M1 Macbooks are designed to enhance your productivity and creativity.
The Power of the M1 Chip
The M1 chip revolutionizes the performance and efficiency of Macbooks, offering faster speeds, longer battery life, and better overall performance. With optimized software and hardware integration, the M1 chip delivers incredible power for everyday tasks and demanding workloads. Whether you're editing photos, creating music, or developing apps, the M1 Macbooks are designed to handle it all with ease.
By taking advantage of the $100 discount on new M1 MacBook Air or M1 MacBook Pro models, you can experience the cutting-edge technology and performance that Apple has to offer. Upgrade your computing experience today and unleash the full potential of the M1 chip with a new Macbook Air or Macbook Pro.
With that, we conclude our exploration of how to take screenshots on a Mac and the benefits of incorporating them into your workflow. Whether you're capturing your screen for productivity, communication, or creativity, mastering the art of taking screenshots can greatly enhance your Mac user experience. So, start capturing your screen today and discover the endless possibilities that screenshots have to offer!
Take $100 Off A New M1 MacBook Air Or M1 MacBook Pro Right Now | Macworld
www.macworld.com How To Take Screenshots On Mac - Capture Your Macbook Screen
 www.techpout.com
 8 Monitors To Take Your MacBook Pro To The Next Level | Macbook Pro
www.pinterest.nz Screenshot Macbook - Homecare24
homecare24.id How To Take Screenshot On Macbook Pro 2016 - TOWOH
towoh.blogspot.com


Komentar
Posting Komentar