How To Stop Virus Notifications On Macbook
Remove Stop Notifications virus (Virus Removal Guide) - Free Instructions
Remove Stop Notifications virus
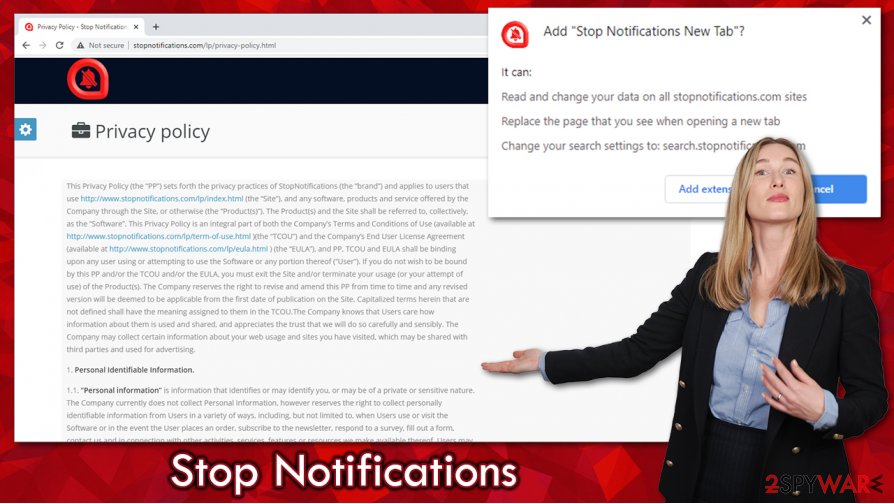
Stop Notifications virus is a pesky malware that bombards users with constant pop-up notifications, making it difficult to use your device. If you have been experiencing this issue, don't worry, we have put together a comprehensive virus removal guide with free instructions to help you get rid of this annoying virus once and for all.
First and foremost, it is important to understand how the Stop Notifications virus infects your device. Typically, this virus spreads through malicious websites, email attachments, or software downloads. Once installed, it starts displaying intrusive pop-up notifications that can be quite frustrating to deal with.
To remove the Stop Notifications virus from your device, follow these steps:
- Step 1: Disconnect your device from the internet to prevent the virus from spreading further.
- Step 2: Run a full system scan using a reliable antivirus software to detect and remove the virus.
- Step 3: Delete any suspicious files or programs that may be associated with the virus.
- Step 4: Reset your browser settings to remove any malicious extensions or plugins installed by the virus.
By following these steps carefully, you should be able to successfully remove the Stop Notifications virus from your device and restore its normal functionality.
For more detailed instructions and tips on virus removal, please visit Virus Removal Guide.
Virus notification on MacBook Pro. - Apple Community
Virus notification on MacBook Pro
Receiving a virus notification on your MacBook Pro can be a cause for concern, but don't panic. It is important to stay calm and follow the necessary steps to address the issue effectively.
If you see a virus notification on your MacBook Pro, it is likely that your device has been infected with malware. Malware can come in various forms, such as adware, spyware, or ransomware, and can cause harm to your device and compromise your sensitive data.
To address a virus notification on your MacBook Pro, consider the following steps:
- Step 1: Quarantine the infected file or application to prevent further damage.
- Step 2: Run a malware scan using trusted antivirus software to detect and remove the virus.
- Step 3: Update your operating system and software to patch any vulnerabilities that may have been exploited by the virus.
- Step 4: Avoid clicking on suspicious links or downloading unknown files to prevent future infections.
By taking these precautionary measures, you can effectively address a virus notification on your MacBook Pro and protect your device from further harm.
For more tips on cybersecurity and virus protection, check out our article on MacBook Pro Virus Protection.
Rovar Halott a világon Arashigaoka chrome fake notification tornádó
Rovar Halott a világon Arashigaoka chrome fake notification tornádó

Rovar Halott a világon Arashigaoka chrome fake notification tornádó translates to "Dead bugs in the world, Arashigaoka chrome fake notification tornado" in English. This cryptic message may indicate that your device has been infected with a fake notification scam.
Fake notification scams are a common form of cyber attack where malicious actors impersonate legitimate websites or services to trick users into revealing sensitive information or downloading malware. These scams can be quite convincing and may lead to identity theft or financial loss if not detected and addressed promptly.
If you encounter a fake notification tornado on your device, here are some steps you can take to mitigate the risk:
- Step 1: Close the fake notification window immediately to prevent any further interaction with the scam.
- Step 2: Run a malware scan on your device using reputable antivirus software to detect and remove any malicious programs.
- Step 3: Update your browser and operating system to patch any security vulnerabilities that may have been exploited by the scam.
- Step 4: Be cautious of clicking on suspicious links or ads to avoid falling victim to similar scams in the future.
By staying vigilant and taking these proactive measures, you can protect yourself from fake notification tornadoes and other cyber threats.
For more information on cybersecurity best practices, visit Fake Notification Scams.
How to Quickly Clear All Notifications on Mac
How to Quickly Clear All Notifications on Mac

Notifications can be helpful in keeping you informed about important updates and events on your Mac, but they can also become overwhelming if not managed properly. If you find yourself drowning in notifications, here is a quick guide on how to clear them all at once.
First, click on the Notification Center icon in the top-right corner of your screen or swipe from the right edge with two fingers on your trackpad to open the Notification Center. Then, scroll up to reveal the "X" button at the top right corner of the notifications list. Click on the "X" button, and all notifications will be cleared instantly.
If you want to customize your notification settings further, you can go to System Preferences > Notifications and adjust the settings according to your preferences. You can choose which apps can send you notifications, how they appear on your screen, and more.
By staying organized and managing your notifications effectively, you can ensure that you stay focused and productive while using your Mac.
For more Mac tips and tricks, check out our article on Mac Notification Management.
PC infected notifications in Windows 10 – IT Office Blog
PC infected notifications in Windows 10
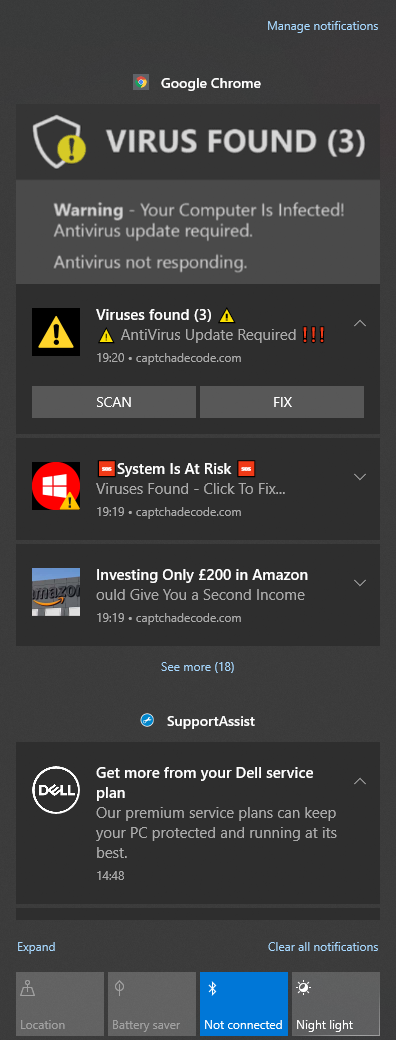
Receiving notifications that your PC is infected with malware in Windows 10 can be a cause for concern, but it is important to take immediate action to address the issue and prevent any further damage to your device.
Malware infections in Windows 10 can range from adware and spyware to ransomware and keyloggers, each with its own set of risks and consequences. If you suspect that your PC has been infected, here are some steps you can take to mitigate the damage:
- Step 1: Disconnect your PC from the internet to prevent the malware from communicating with its servers.
- Step 2: Run a full system scan using reputable antivirus software to detect and remove the malware.
- Step 3: Update your operating system and software to patch any security vulnerabilities that may have been exploited by the malware.
- Step 4: Backup your data and consider restoring your PC to a previous clean state if the infection is severe.
By following these steps and staying vigilant against potential threats, you can protect your PC from malware infections and keep your data safe and secure.
For more resources on PC security and malware prevention, visit Windows 10 Malware Protection.
Remove Stop Notifications Virus (Virus Removal Guide) - Free Instructions
www.2-spyware.com PC Infected Notifications In Windows 10 – IT Office Blog
it.queens.ox.ac.uk How To Quickly Clear All Notifications On Mac
www.howtogeek.com Rovar Halott A Világon Arashigaoka Chrome Fake Notification Tornádó
analiticaderetail.com 


Komentar
Posting Komentar