How To Scan A Document To Macbook
Today, we are surrounded by technology that makes our lives easier and more efficient. One of the most useful tools at our disposal is the ability to scan documents directly to our devices, whether it's a PC, Mac, or iPhone. In this article, we will explore the step-by-step process of scanning documents to Dropbox on PC or Mac, as well as using the document scanner in the Notes app on iPhone and iPad.
How to Scan Documents to Dropbox on PC or Mac

Scanning documents to Dropbox on your PC or Mac can be a convenient way to store important information in a secure location. To get started, follow these 14 steps:
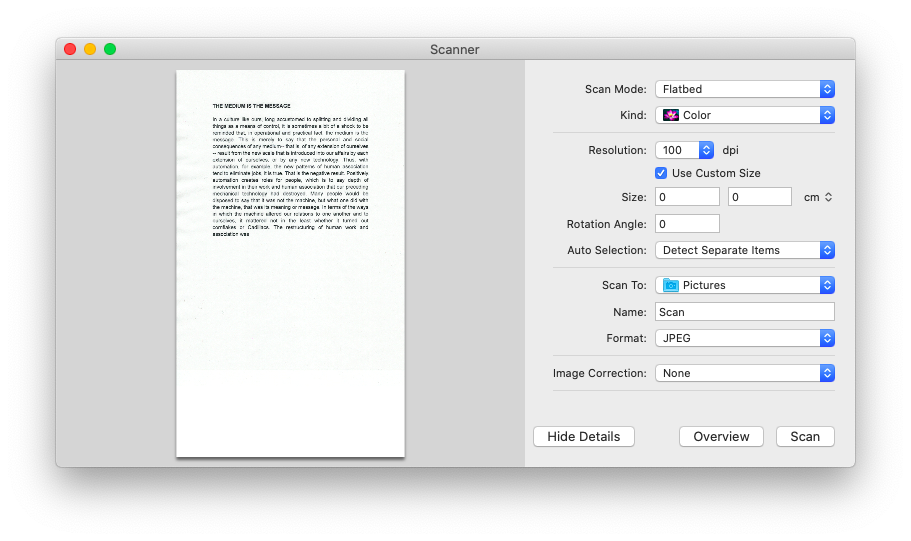
1. Open your scanner software on your computer.
2. Place the document you want to scan on the scanner bed.
3. Select the scan settings, such as resolution and color mode.
4. Click on the "Scan" button to start the scanning process.
5. Once the document has been scanned, save it to your computer.
6. Open Dropbox on your PC or Mac.
7. Click on the "Upload" button.
8. Select the scanned document from your computer.
9. Choose the location in Dropbox where you want to save the document.
10. Click on the "Upload" button to save the document to Dropbox.
11. Your document is now successfully scanned and saved to Dropbox for easy access anytime, anywhere.
For a more detailed guide on how to scan documents to Dropbox on PC or Mac, visit Scan Documents to Dropbox on PC or Mac.
How to use the document scanner in the Notes app on iPhone and iPad

If you're on the go and need to scan a document using your iPhone or iPad, the Notes app has a built-in document scanner feature that can come in handy. Follow these steps to use the document scanner in the Notes app:
1. Open the Notes app on your iPhone or iPad.
2. Create a new note or open an existing one.
3. Tap on the "+" button to access additional options.
4. Select "Scan Documents" from the menu.
5. Position your device over the document you want to scan.
6. Ensure the document is within the frame and tap the shutter button to scan.
7. Adjust the corners of the document if needed.
8. Once the document is scanned, you can crop or rotate it if necessary.
9. Save the scanned document to your Notes app.
10. Your document is now digitized and saved on your iPhone or iPad for easy access on the go.
For more tips on utilizing the document scanner in the Notes app on iPhone and iPad, check out Using the Document Scanner in Notes App.
How to Get Scanned Documents onto Your Computer
Once you have scanned your documents, the next step is to transfer them to your computer for safekeeping and easy access. Follow these steps to get scanned documents onto your computer:
1. Connect your scanner to your computer using a USB cable or wireless connection.
2. Open the scanner software on your computer.
3. Scan the document using your preferred settings.
4. Save the scanned document to your computer's hard drive or desktop.
5. Open the folder where the scanned document is saved.
6. Drag and drop the document to a location on your computer where you want to store it.
7. Alternatively, you can use cloud storage services like Dropbox or iCloud to save and access your scanned documents across multiple devices.
For a comprehensive guide on how to get scanned documents onto your computer, visit Getting Scanned Documents onto Computer.
By following these step-by-step instructions and utilizing the document scanning features on your devices, you can easily digitize and store important documents for easy access and organization. Whether you're using a PC, Mac, iPhone, or iPad, there are convenient options available to help streamline your document management process.
How Do I Scan A Document To My Apple Computer - Apple Poster
How To Get Scanned Documents Onto Computer : Https Encrypted Tbn0
polavanitiesando.blogspot.com How To Scan Documents To Dropbox On PC Or Mac: 14 Steps - WikiHow
www.wikihow.com How Do I Scan A Document To My Apple Computer - Apple Poster
How To Use The Document Scanner In The Notes App On IPhone And IPad | IMore
www.imore.com


Komentar
Posting Komentar